Whilst at school, children learn many different subjects, all of which are designed to help increase their life skills, their ability to solve problems and of course, enhance their knowledge end confidence levels.
One of the most important subjects for a child to learn is science.
The great news is that you can help your child understand more about science in the comfort of your own home. You don’t necessarily need a laboratory or a huge amount of equipment, and there are several fun experiments you can do as a family, which will help your child to understand not only how things work, but increase their curiosity at the same time.
Why is Science Important for Kids to Learn?
You might think that science ranks behind maths and English in terms of important subjects, but science is actually one of the most vital subjects for children to learn about, explore, and master.
Science helps children to not only learn different skills but also helps to teach them life skills they will require throughout their education and beyond. This includes communication skills, the ability to research and study new areas of curiosity, and can also help them to become more organised and in control of their actions.
Science experiments, when planned carefully, can help children to learn in a hands on way. We all know that children learn far more effectively when they’re actually doing something, which explains why there are so many interactive museums up and down the country! When a child is actually learning something by doing it, they’re seeing first hand how it works, without having to read about it, or be told about it and then having to imagine it in their own mind.
Experiments can then help children to learn their own opinions, because they can see what is happening and they can work out how they feel and think about it from what is in front of them. All of this increases curiosity and creativity, helping to breed excitement for learning in general.
So, if you thought that science simply wasn’t as important as the other academic subject, you can see now why you were wrong!
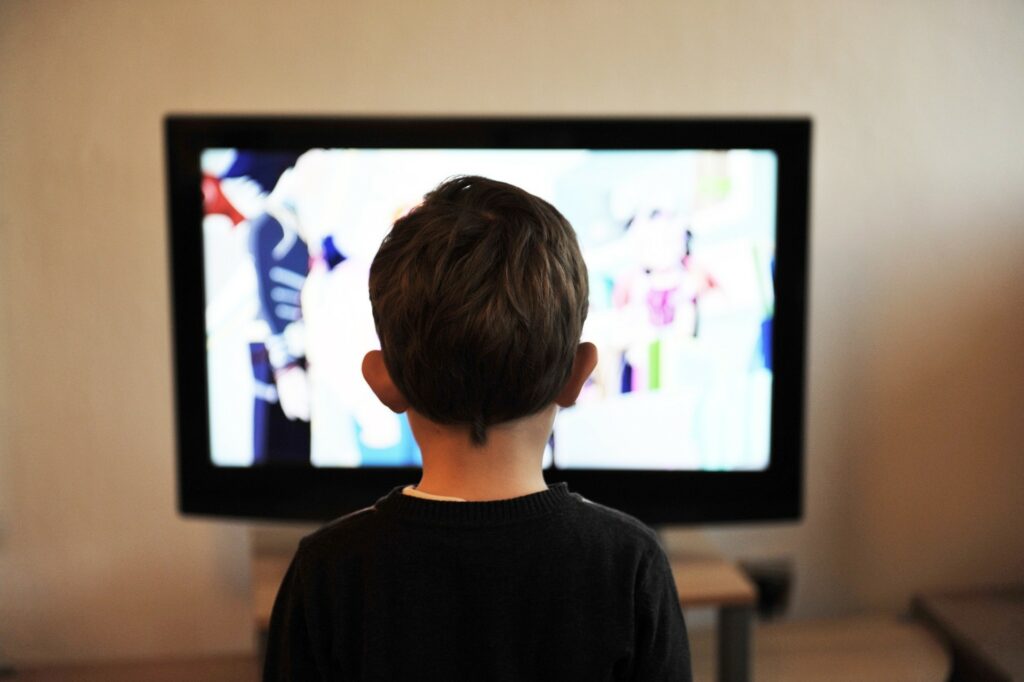
Of course, some children don’t thrive quite as well in a classroom environment as they do at home, and in that case, making the time to do some simple science experiments with your children at home is a great idea. This is a fantastic way to pass a rainy day too, without having to sit your child in front of the TV needlessly, or go out spending money on attractions that perhaps aren’t as exciting as they first appear to be.
5 Science Experiments to Try
If you’re keen to try a few experiments at home, there are many you can have a go at. You don’t need in-depth equipment for many of them and you simply need to gather your equipment beforehand and have prior knowledge of what you’re going to do, before you attempt to work through it with your child.
In that case, you simply need to read about the experiment, it’s aims, what it’s attempting to show and why. That means you can answer any questions that your child might have whilst you’re working through the experiment together.
Experiment 1 – Make a Volcano
In this experiment you will learn how to make a volcano and there are add ons you can try to help your child understand how different elements affect how a volcano works and how it erupts. It’s a good idea to do this experiment outside, as it may erupt and cause a mess in your kitchen!
For this experiment you will need:
- Regular dish soap, 10ml
- Cold water, 100ml
- Regular vinegar (white), 400ml
- Any shade of food colouring
- An empty bottle, around 2 litres capacity
- Regular cup
- Baking soda (enough to fill half the cup)
- Water to add to the baking soda
To do this experiment follow these steps:
- Create the baking soda mixture by adding baking soda to the cup, about half way up the cup is enough. Add water to take it to the top and combine well
- Take the empty bottle and put in the cold water, vinegar, dish soap and a couple of drops of whatever shade of food colouring you’ve gone for
- Stir everything together well
- When you’re ready, add the baking soda mixture to the bottle but quickly move out of the way!
This is a fun experiment which kids will love because it quickly explodes literally like a volcano would! The vinegar and the baking soda is what causes the eruption because of the chemical reaction which occurs between them, causing carbon dioxide to be released quickly.
The mixture erupts out of the bottle because it expands very quickly, which is why when you shake up the bottle things get even more eruptive!
You can try and tweak a few things within the experiment as your children become more interested in why the eruption is happening. Perhaps you could see if any changes in the amount of vinegar makes a difference to the eruption or what happens if you add a different amount of water or baking soda.
Experiment 2 – Make Homemade Snow
Kids love snow, so this experiment is sure to go down rather well, especially if the weather is far from snowy!
For this experiment you will need:
- Regular cornstarch, 1 cup
- Shaving cream, 1 cup
- Any shade of food colouring you want – let the kids decide what colour snow they want to create, you could even have different colours together!
- A large mixing bowl
This is the one of the easiest experiments to try, although it might be a good idea to put down an old blanket or cloth if you want to protect your work surfaces and surrounding furniture. You’ll also need some wash cloths, as hands can get a little messy!
- Take a large bowl and add the cornstarch inside
- Add the shaving cream to the bowl
- Add a few drops of your chosen shade of food colouring, between 5 to 10 drops should be enough
- Use a spoon to stir the mixture together until it looks a little like it’s been grated
- Then, get your child to use their hands to mix up the mixture with their hands, until you can form a ball of dough
Once you’ve got your snowball, you can use it to make snowmen and all manner of other snowy creations! If your mixture is a little wet, just add a bit more cornstarch to right the issue.
Experiment 3 – Watch The Hearts Dance
This is a great experiment for teaching children about the buoyancy of certain items and how they float or sink in certain liquids. It’s also a very pretty experiment so kids are sure to love how sparkly it all turns out to be!
Super easy to do, you will need the following items:
- A regular drinking glass, around 12oz size is enough
- Sprite or alternative soda drink, 8oz
- Candy hearts, a handful
You can mix this experiment up by using different liquids, but for now, use Sprite or perhaps 7up as it will give you the clearest view of what is happening.
- Add the Sprite to the glass and add the candy hearts one at a time
- Watch as they dance and float up and then back down, up and down
Kids will love watching how the hearts seem to dance and move around, rather than simply sinking to the bottom of the glass as they would if you were using water. The reason this happens is because the carbon dioxide lifts the candy up and down, and once the reach as high as they can get, the carbon dioxide bubbles burst and the candy falls back down, before the pattern repeats itself.
You can do a few variations of this experiment, perhaps use different types of soda, maybe Coke, and see what happens, or explore whether diet soda has a different effect.
Experiment 4 – Make Your Own Crystals
This is a very creative experiment you can try and you’ve probably already got most of the equipment you need in your kitchen cupboard.
You’ll need:
- Epsom salt, a quarter of a cup
- Hot water, a quarter of a cup
- Any shade of food colouring you like
- A plate and a cup
This experiment explores why hot water dissolves salt more effectively than if you were using cold water, creating crystals as it does so. Every crystal will have a different shape and when you add food colouring, a different shade too.
- Add the Epsom salts and hot water into the cup and combine together well
- Stir until the salt dissolves but if you don’t get it all to dissolve completely, pop it into the microwave for around 20 seconds
- Once all traces of salt have done, add the food colouring and mix everything together
- Now transfer the cup to the fridge and leave it for half an hour before checking on it
- Wait for 4 hours, checking every so often
- Once 4 hours have passed, use a fork to move the crystals onto the plate and explore the shapes and colours together.
Experiment 5 – Can You Make it Rain?
This is an ideal experiment for any children who are interested in learning more about the weather, and great for rainy days too!
You will need:
- A glass jar
- A plate
- 4 ice cubes
- A little hot water
This experiment mimics what happens in the clouds and the atmosphere when it rains.
- Add hot water to the jar, about 2 inches depth
- Add the plate over the top of the jar, with the face upwards
- Wait for a few minutes
- Add the 4 ice cubes on the top of the plate
- Look what’s happening inside – it’s raining!
When you add the ice cubes to the top of the plate, the temperature of the plate drops quickly, and because the temperature inside the jar is warm, condensation forms, causing drops of water to fall. When it rains regularly, this process basically mimics what is happening.


